Beginning, Intermediate, or Advanced Screen Printing
*Tuesdays | January 25 through March 1 | 6-8 PM | $125
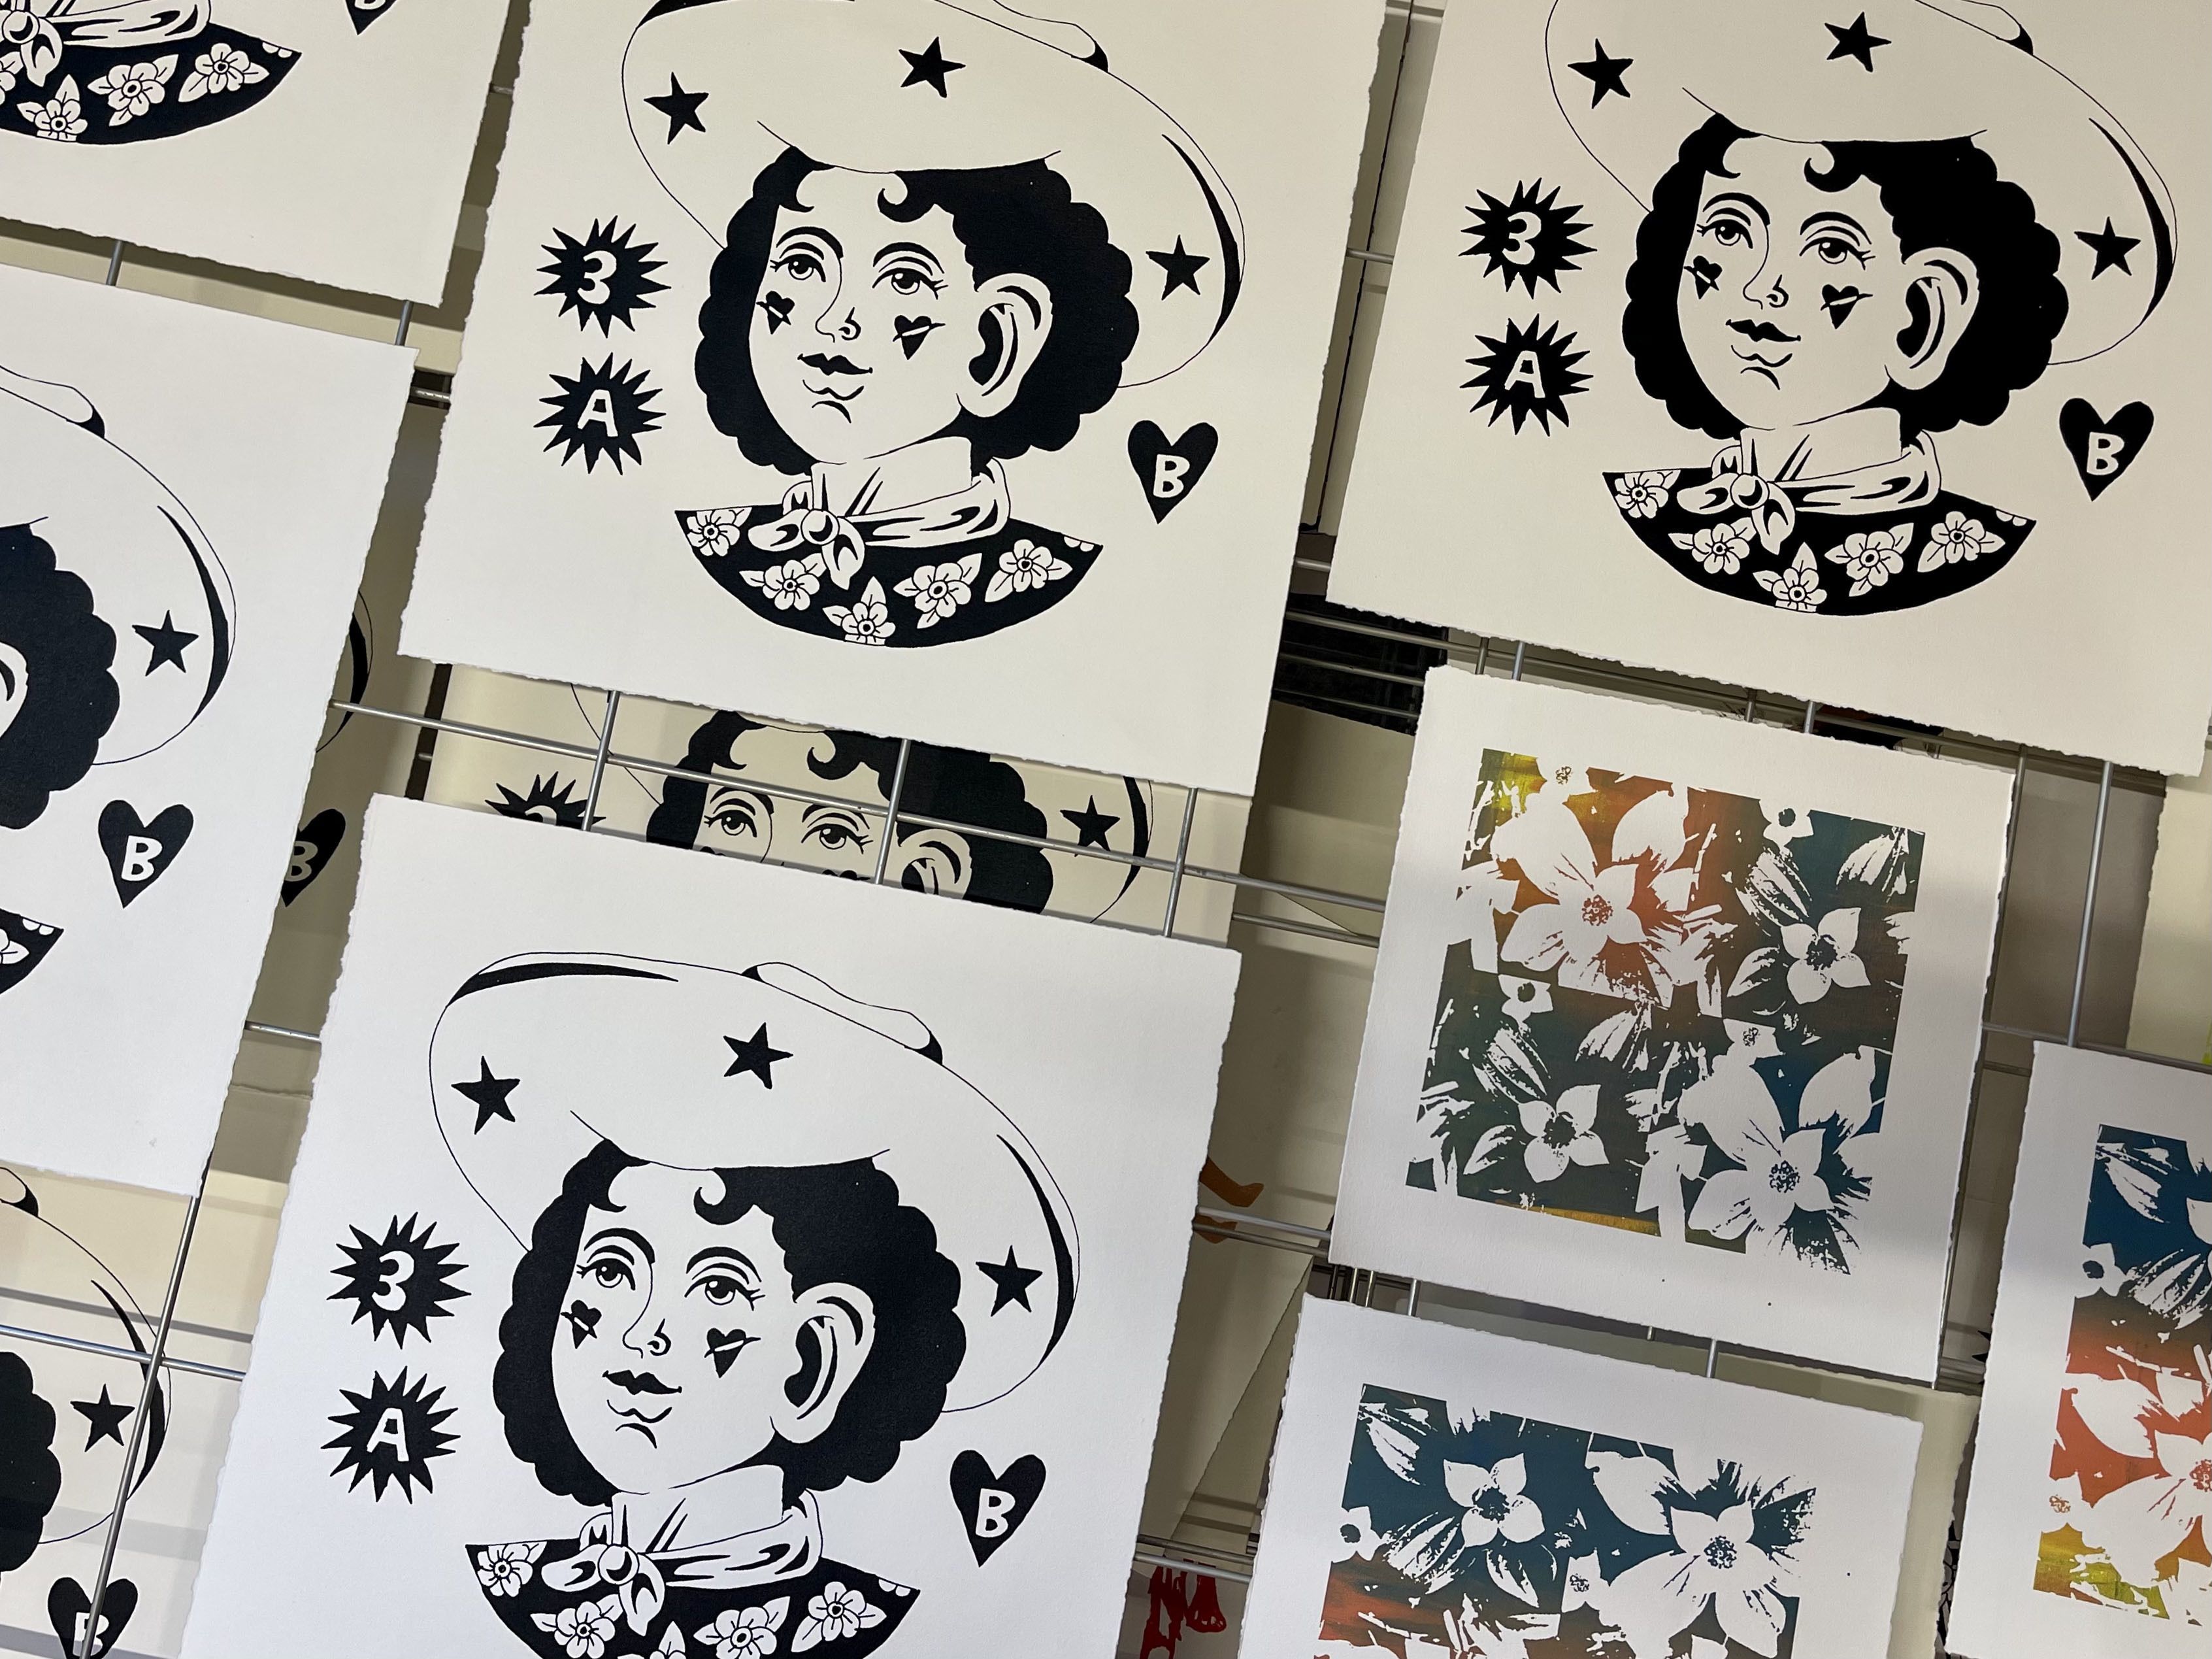
Screen printing is super fun and can be used to print on a wide variety of surfaces including paper and fabric. In this comprehensive 5 week class students will learn the history of screen printing, how to prep artwork for screens, transfer artwork onto a surface, trouble shoot, experiment and much more! All skill levels welcome! Students who take this course will have access to the ZACC Print Shop outside of class during our regular business hours and, after the course ends, will have met the requirements for continued Print Shop access (regular Print Shop usage fees apply one full week after course ends).
If you are interested in taking this course but are uncomfortable with in-person instruction at this time, please contact Joe Kirk at the ZACC to discuss potential accommodations for digital participation.
*The class will not meet on February 21 while the ZACC hosts the Montana Big Sky Film Festival.
MATERIALS REQUIRED FOR THIS COURSE
Note: these materials enable students to print outside of the course as well as during class.
Beginner (Single Color) Silkscreen:
● 1 aluminum framed silkscreens 20" x 24" (please DON'T
order anything smaller than this)
○ Screens available at the ZACC ($10 for used if available and $25 new)
OR
○ http://www.goldupusa.com/ has inexpensive good screens
○ SEE BELOW FOR SCREEN MESH COUNT INFO
● Packing tape
● Black acrylic water based ink
● Various printmaking papers
● Vellum for hand drawing stencils (you can also print B&W images onto transparencies)
● Mylar
○ for flap registration
○ for hand drawing stencils
Intermediate and Advanced (Multi Color) Silkscreen Materials List
● At least 2 aluminum framed silkscreens 20" x 24" (DON'T order anything smaller than this)
○ Screens available at the ZACC ($10 for used if available and $25 new)
OR
○ http://www.goldupusa.com/ has inexpensive good screens
○ SEE BELOW FOR SCREEN MESH COUNT INFO
● 5-10 tupperwares to store customized ink, go to the dollar store they have cheap ones. → Don’t use store bought food containers that had say, salsa, in them. Your ink will smell like salsa and it’s gross.
● You will need a lot of tape:
○ Masking tape
○ Scotch tape
○ Packing tape (this is used most often)
● Pins and Tabs for registration
● Vellum for hand drawing stencils (you can also print B&W images onto transparencies)
●Rubylith
● Mylar
○ for flap registration
○ for hand drawing stencils
● Paint brushes in various sizes (synthetic watercolor/acrylic brushes work best, you don't need to purchase really nice ones)
● Exacto knife and pack of new blades for cutting Rubylith
● 2 acrylic Black paint markers, one with a fine tip and one with a large tip. Permanent markers work okay (but aren’t really opaque enough)
● Old credit card, or old safeway rewards card for removing excess ink from screens
● Various paper
-Tracing paper
-Acrylic water based inks
-Transparent Base
○ Maybe buy a few sample packs from French Paper Co. They have a line of screenprinting paper.
https://www.frenchpaper.com/paper/by-project-type/screen-printing
Recommended: An apron and a folder for handouts
Link to copy of Materials List: https://docs.google.com/document/d/1wRQDJ0TyD3RYXSJWk7AFZCj02U3CDIHqvWNnrRm6AbI/edit?usp=sharing